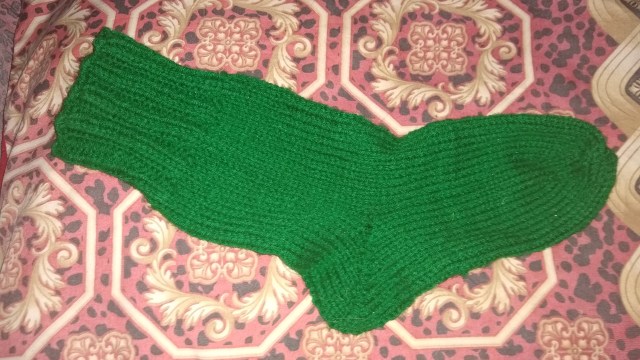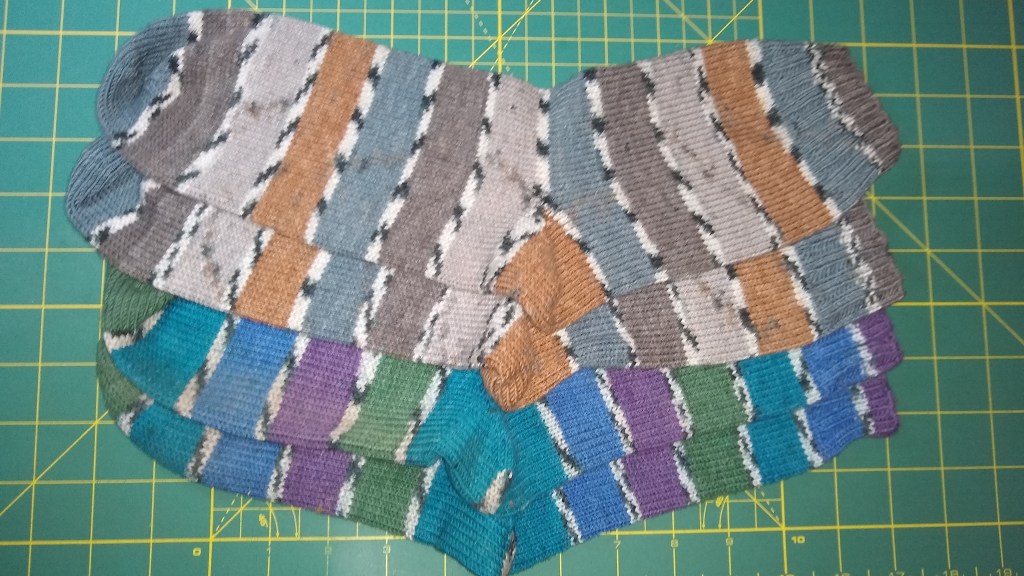
Have you ever wanted to knit a cool pair of socks, but don’t know how because you’ve never knitted, or perhaps you do know how to knit, but have never learned to make socks? Well, I learned from watching many videos on YouTube. I’ve shown this image above to all my socials and it seems like several people say they wish they knew how to knit socks, so I decided I would make a video teaching how to do all the steps from start to finish. It’s an intermediate pattern, but I show you as a beginner.
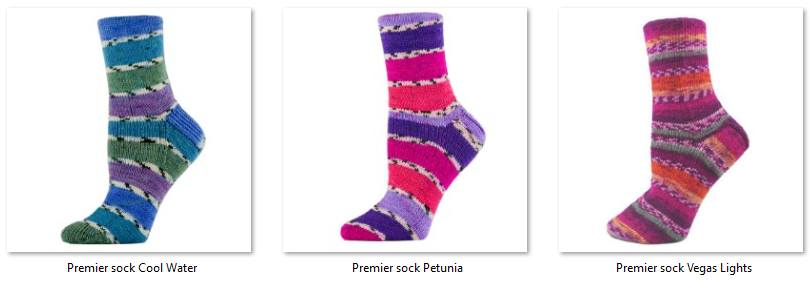
I like to use Premier wool free sock yarn that I bought from the Michaels website. I’ve bought sock yarn from Michaels and they are wool which means they get hot fast and those are meant to keep your feet warm when you are in the snow or perhaps just when you are sitting at home and your feet get too cold, or if it’s just winter and your feet get cold easily. Well, Premier wool free sock yarn is great for wearing with shoes.
However, for this video I just used regular yarn. The tools I use for the Premier socks are a 9 inch 2.75mm or US 2 circular knitting needles. Preferably ChiaoGoo with the red cable. 5 double pointed knitting needles of the same size (the set usually comes with 5) a size 2.0mm crochet hook for fixing dropped stitches, stitch markers and a needle for sewing the Kitchener stitch. The circular knitting needle I used in this video was a 12 inch 5mm US 8 circular knitting needle with matching double pointed needles and a size G crochet hook and of course stitch markers and yarn needle for sewing the Kitchener stitch.
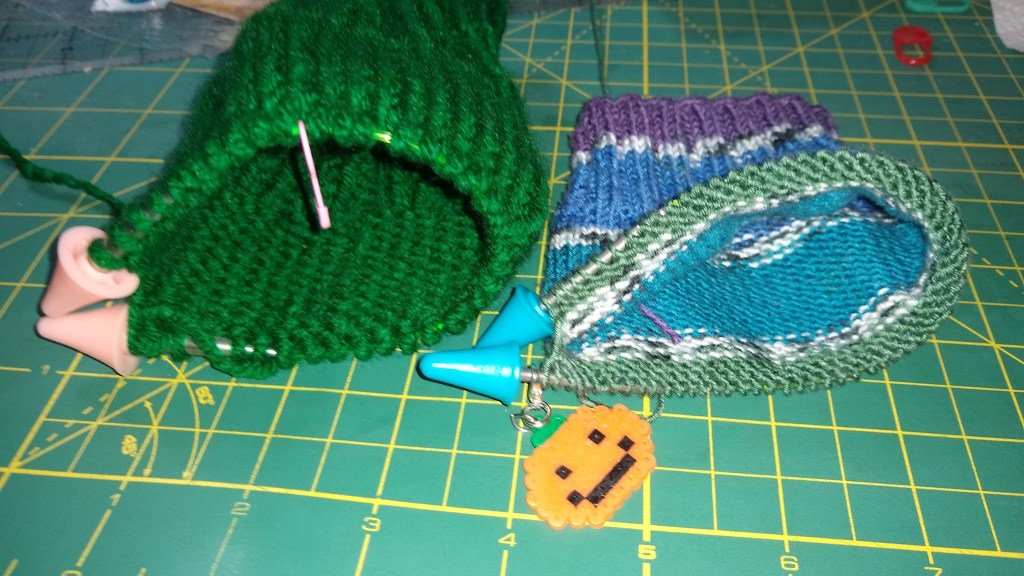
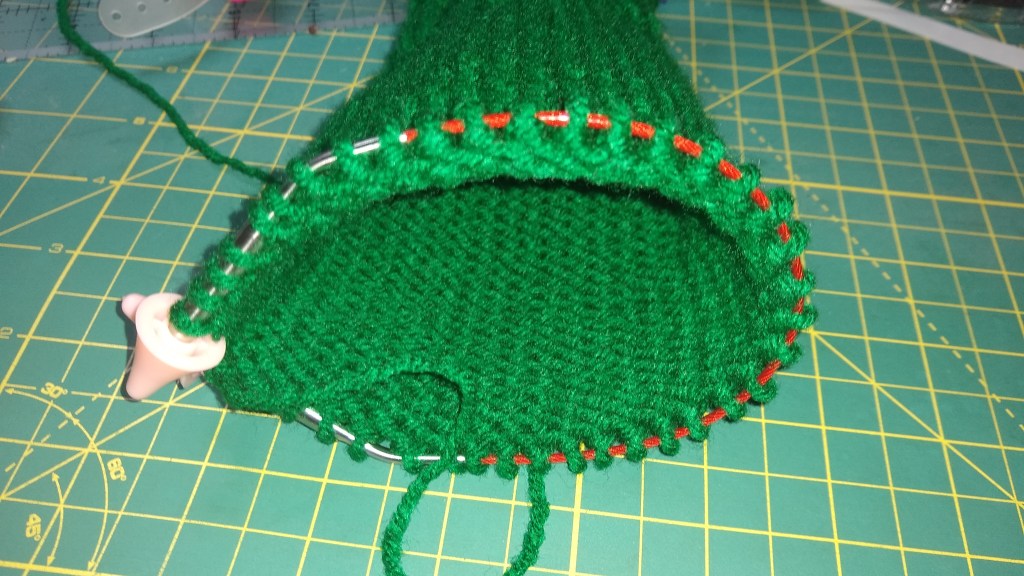
The pattern is available on the Premier website, but in the video I tell you how many stitches you will need for your sock depending on the circumference of your foot. I will show you how to do the loose long tail cast on, rib stitch for the cuff is 1 1/2 inches, then 6 inches total including the cuff before you start the short row heel. then you knit the foot and measure from the back of the heel for your foot size, but make sure you are measuring minus 2 inches because the toe is 1 1/2 inches and you want there to be a stretch, hence the last 1/2 inch. Finally the last thing to do is the Kitchener stitch to sew the toe up and then weave the tail of the yarn into the perl bars.
So here’s the video. Enjoy and let me know how it works out.