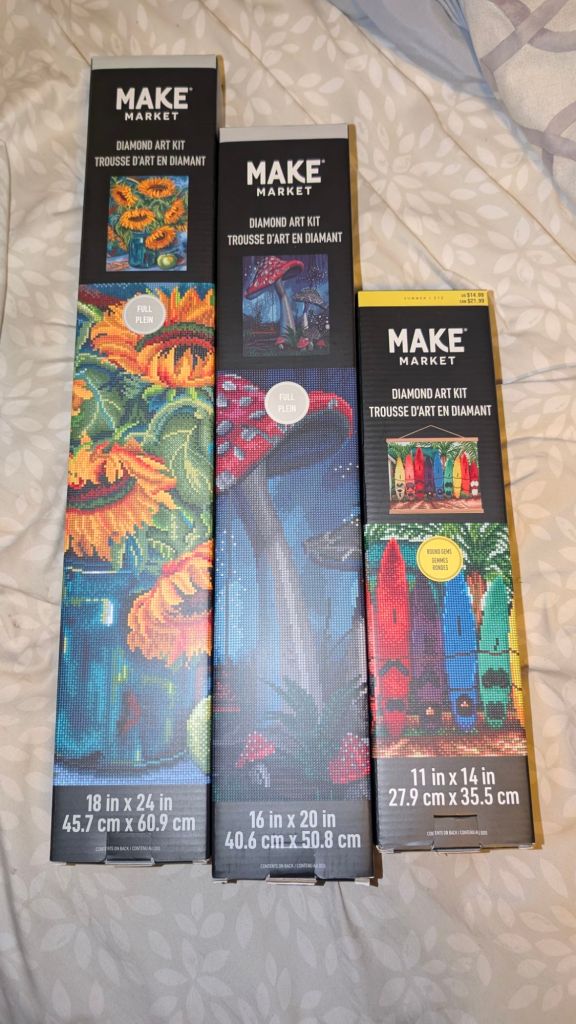
So I got another $10 Michael’s rewards voucher and I went back to Michaels and got another Diamond painting, one that was in my wish list and you’ll see it on the second image on the far right and it is the one with the skull. I also picked up a few more of the summer Diamond paintings because they are on clearance.
At this point it looks like I’m a hoarder and I can’t help but laugh at myself because I just can’t stop myself. But if they keep sending me $10 vouchers, how can I not go back and buy more?
Everything that you see in these two pictures were on sale or on clearance or I bought them on sale and had a $10 voucher and got it for an extremely low price. Let me explain.
I was buying Diamond paintings on Amazon and on Temu and the ones that I was buying were okay, and I liked them, but my life partner told me instead of wasting your money on cheaper Diamond paintings, get some premium Diamond paintings and see how those are.
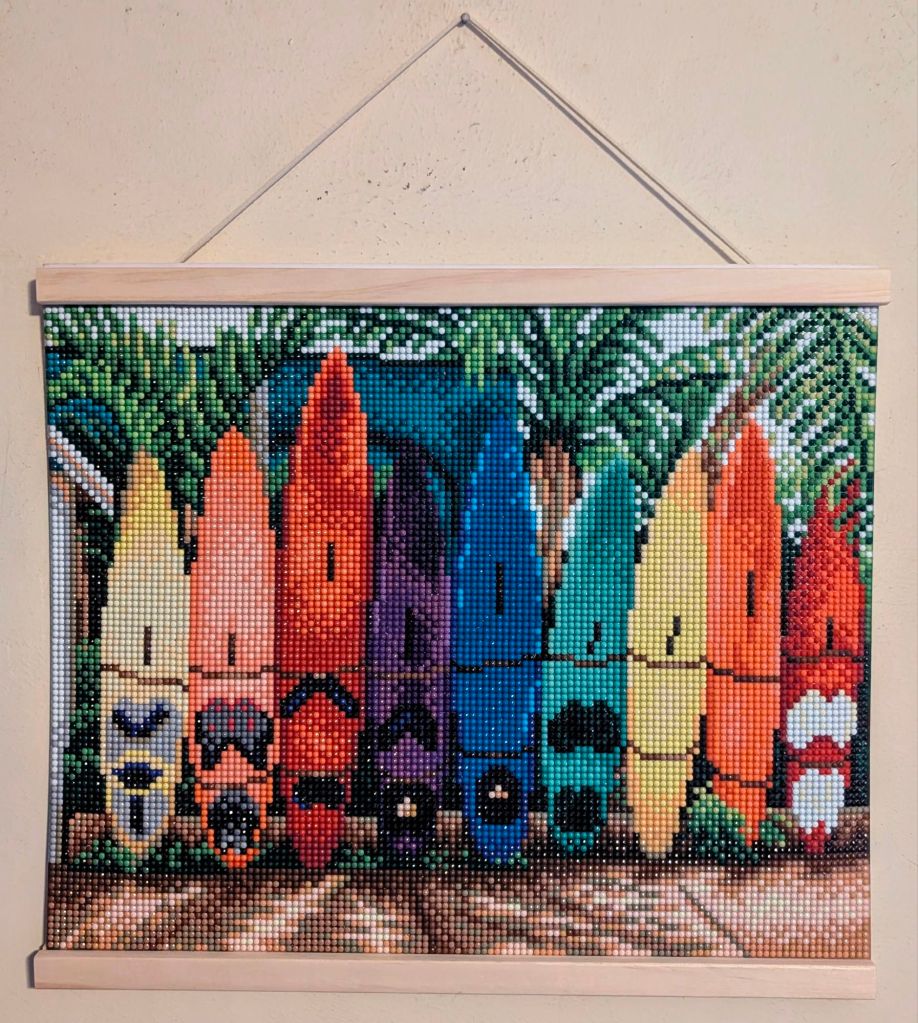
My birthday was on June 2nd and so I bought my diamond paintings on the app and there was a coupon for the Mushroom Diamond painting for 30% off. So instead of being $19.99, it was only $13.99, and the Rainbow Surfboards was on sale for $7.99 from $14.99. I didn’t need a coupon because it was already on sale.
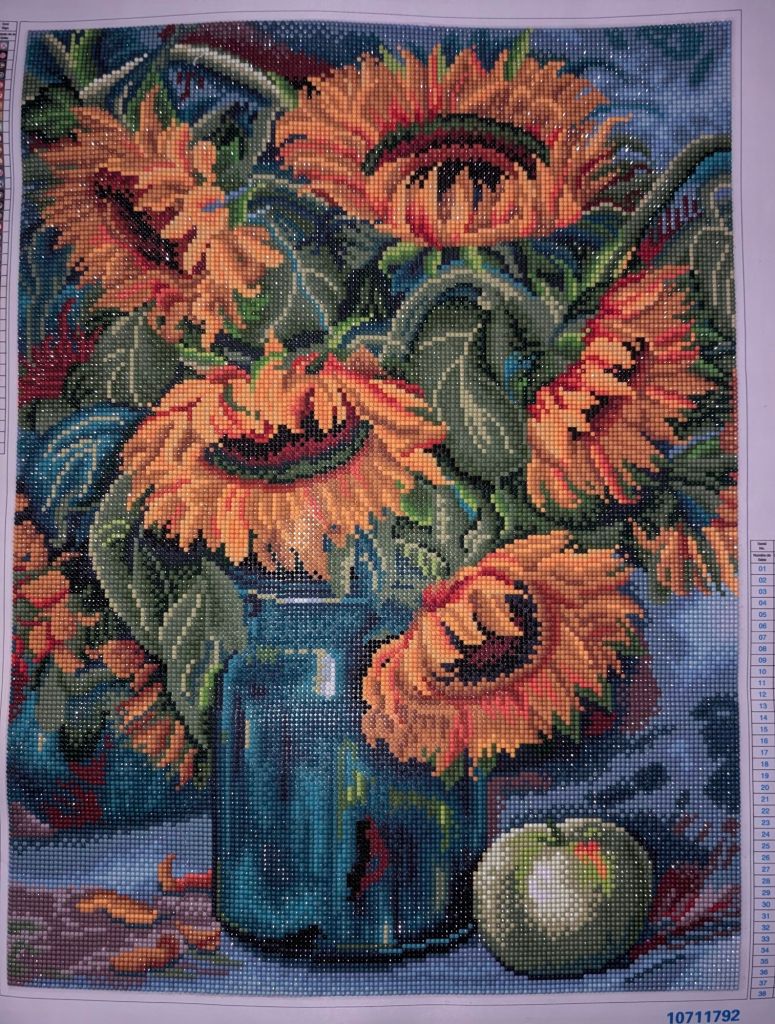
After we left my birthday dinner at Golden Corral, we went to Michaels to pick up my diamond paintings and I got a birthday coupon in my email for 40% off and so I bought the Sunflower Bouquet Diamond painting. Its regular price is $29.99 and my 40% off coupon brought it down to $17.99. Those were the first three Diamond paintings that I got from Michaels.
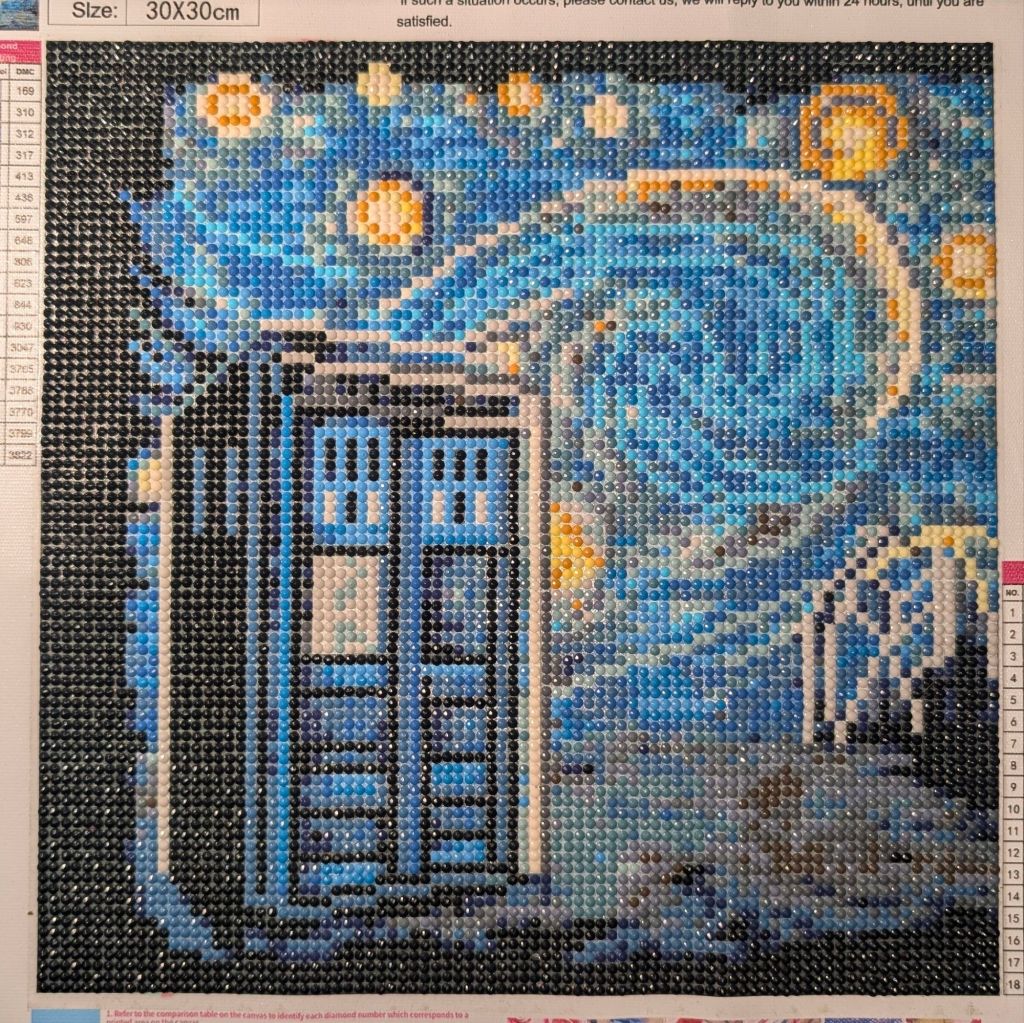
Throughout the month of June I was working on the Rainbow Surfboards and the Sunflower Bouquet Diamond painting and I finished the Sunflower Bouquet Diamond painting in mid July. My life partner and I decided that I was going to send the Sunflower Bouquet diamond painting to a friend of ours who lives in Idaho and so I thought well, maybe I should get her something else because I really wanted that Diamond painting for myself. So I bought another Diamond painting for her and it’s the one that is the Lake Forest. That is the same size as the Sunflower Bouquet Diamond painting. The Lake Forest Diamond painting was regular $29.99 and I used a coupon for 40% off and so it went down to $17.99. I’d also bought the Starry Night by Vincent Van Gogh (not pictured) and that was regular $19.99 and it brought it down to $11.99. I decided that I was just going to go ahead and send her the Sunflower Bouquet Diamond painting instead and so I went back onto the Michaels app and I couldn’t use the 40% off coupon again. It was a one-time thing per account, but I had another 30% off coupon so I bought it and it brought the price down from $29.99 to $20.99.
So a week later I got an email from Michael’s saying that I earned a $10 Michael’s rewards voucher and I decided that I wanted to get the Wheat Field by Vincent Van Gogh Diamond painting. That was a $19.99 Diamond painting and I used a 40% off coupon that brought it down to $11.99, and then I used my $10 voucher and that brought my total down to $2.15.
That same night after I bought that Diamond painting, I went back to the Michaels app and was looking around and all of their summer Diamond paintings had been $7 on clearance and all of a sudden they were $4.49, so I bought five of them. Then cut two 2 days ago. I got another $10 Michael’s rewards voucher so I went back to the app and purchased the Skull and that was regular $19.99 and I used a 35% off coupon and that brought the price down to $12.99. I used my $10 voucher and that brought the price down to $3.24.
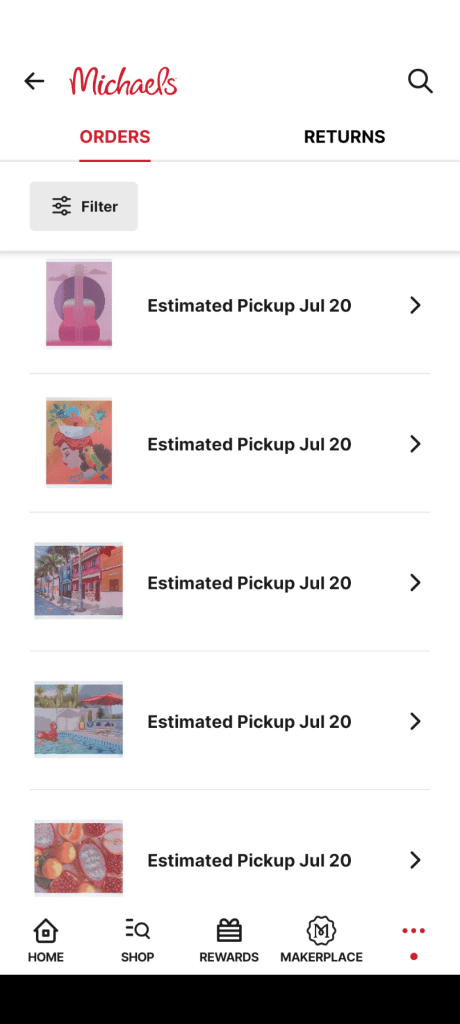
When I went to pick up the Skull, I went in and I went all the way over to where they had the diamond paintings that were on clearance to see what else they had and I bought two more of the ones that are 11×14 and then I bought two boxes that have two Diamond paintings in each box that are 5×7.
And that brings us to where I am today.
I have been seeing a lot of videos on YouTube of people sharing their “stash” as they call it, of Diamond paintings. Their stash being Diamond paintings that they bought, but are still sitting in their box waiting to be made. One person had 73 Diamond paintings, and they aren’t cheap either. A lot of them are Diamond Art Club which cost $60 and up. Other people had more and I was thinking whoa, that’s crazy. And now look at me. I still have about eight or nine Diamond paintings from Amazon and I’m still working on the last Temu Diamond painting and now I have all of these Make Market Diamond paintings from Michaels. I thought my stash was huge until I saw that that one person has 73.
The thing about me is that I will be making these diamond paintings. They’re not going to be sitting in my room because I have been working on Diamond paintings every single day since I started in April. I have made three Diamond paintings that have the blue butterflies with the sunflowers and have given them all away. I have another one because I wanted to make that to sell in my Etsy shop, but I’m sure someone’s going to ask me to make that for them LOL. There are also some of the clearance Diamond paintings that I intend on giving to people so these are not all just going to be collecting dust. Some of them will be made by me and some of them will be given away and a lot of the ones from Amazon will be made and sealed and framed and put on Etsy. I don’t intend on letting any of these go to waste.
This hobby is definitely a huge addiction and I’m hoping that I resist the urge to buy anymore. But, I’m pretty satisfied with the amount of diamond paintings that I have and I don’t see any reason to go back to Michaels to get anymore unless I get another $10 voucher and the price of diamond painting is a couple bucks LOL. If that’s the case then I’ll be okay with getting more but I just don’t see myself needing to buy anymore. I still do have some in my wish list on the Michaels app, but they’re not urgent and they’re not on clearance so I don’t have to worry about them disappearing forever. There is one particular Diamond painting that is the big one that is the bookshelf and I do want to make that as a Christmas present from one of my aunts who actually has a library in her house. I think that would be a nice gift for her.
I really do like these diamond paintings from Michaels more than I like the diamond paintings from Amazon or Temu. The quality of the images is just superior to me. A lot of the ones that I’ve gotten from Amazon and Temu are okay, but the detail is lost in some of the diamond paintings. The ones from Michaels, you can see what everything is supposed to be and the details are just fantastic. Any diamond paintings that I had in my Amazon wishlist are gone. I no longer have any desire to buy those anymore. Also, the very fact that I have so many diamond paintings sitting in my bedroom that I won’t be needing to buy any more diamond paintings anytime soon for the foreseeable future. I probably have enough diamond paintings to keep me busy for the next year.