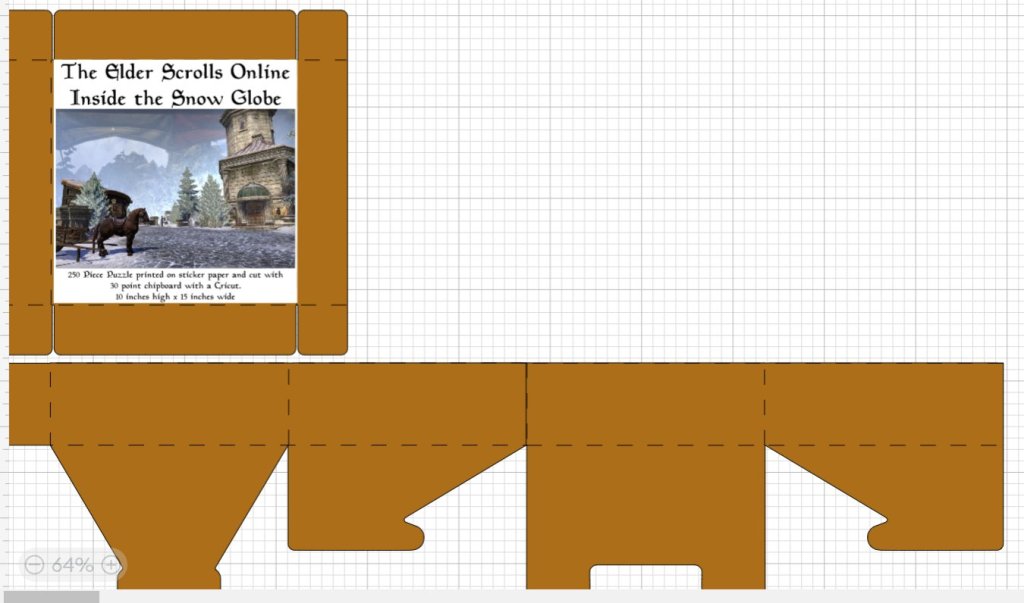
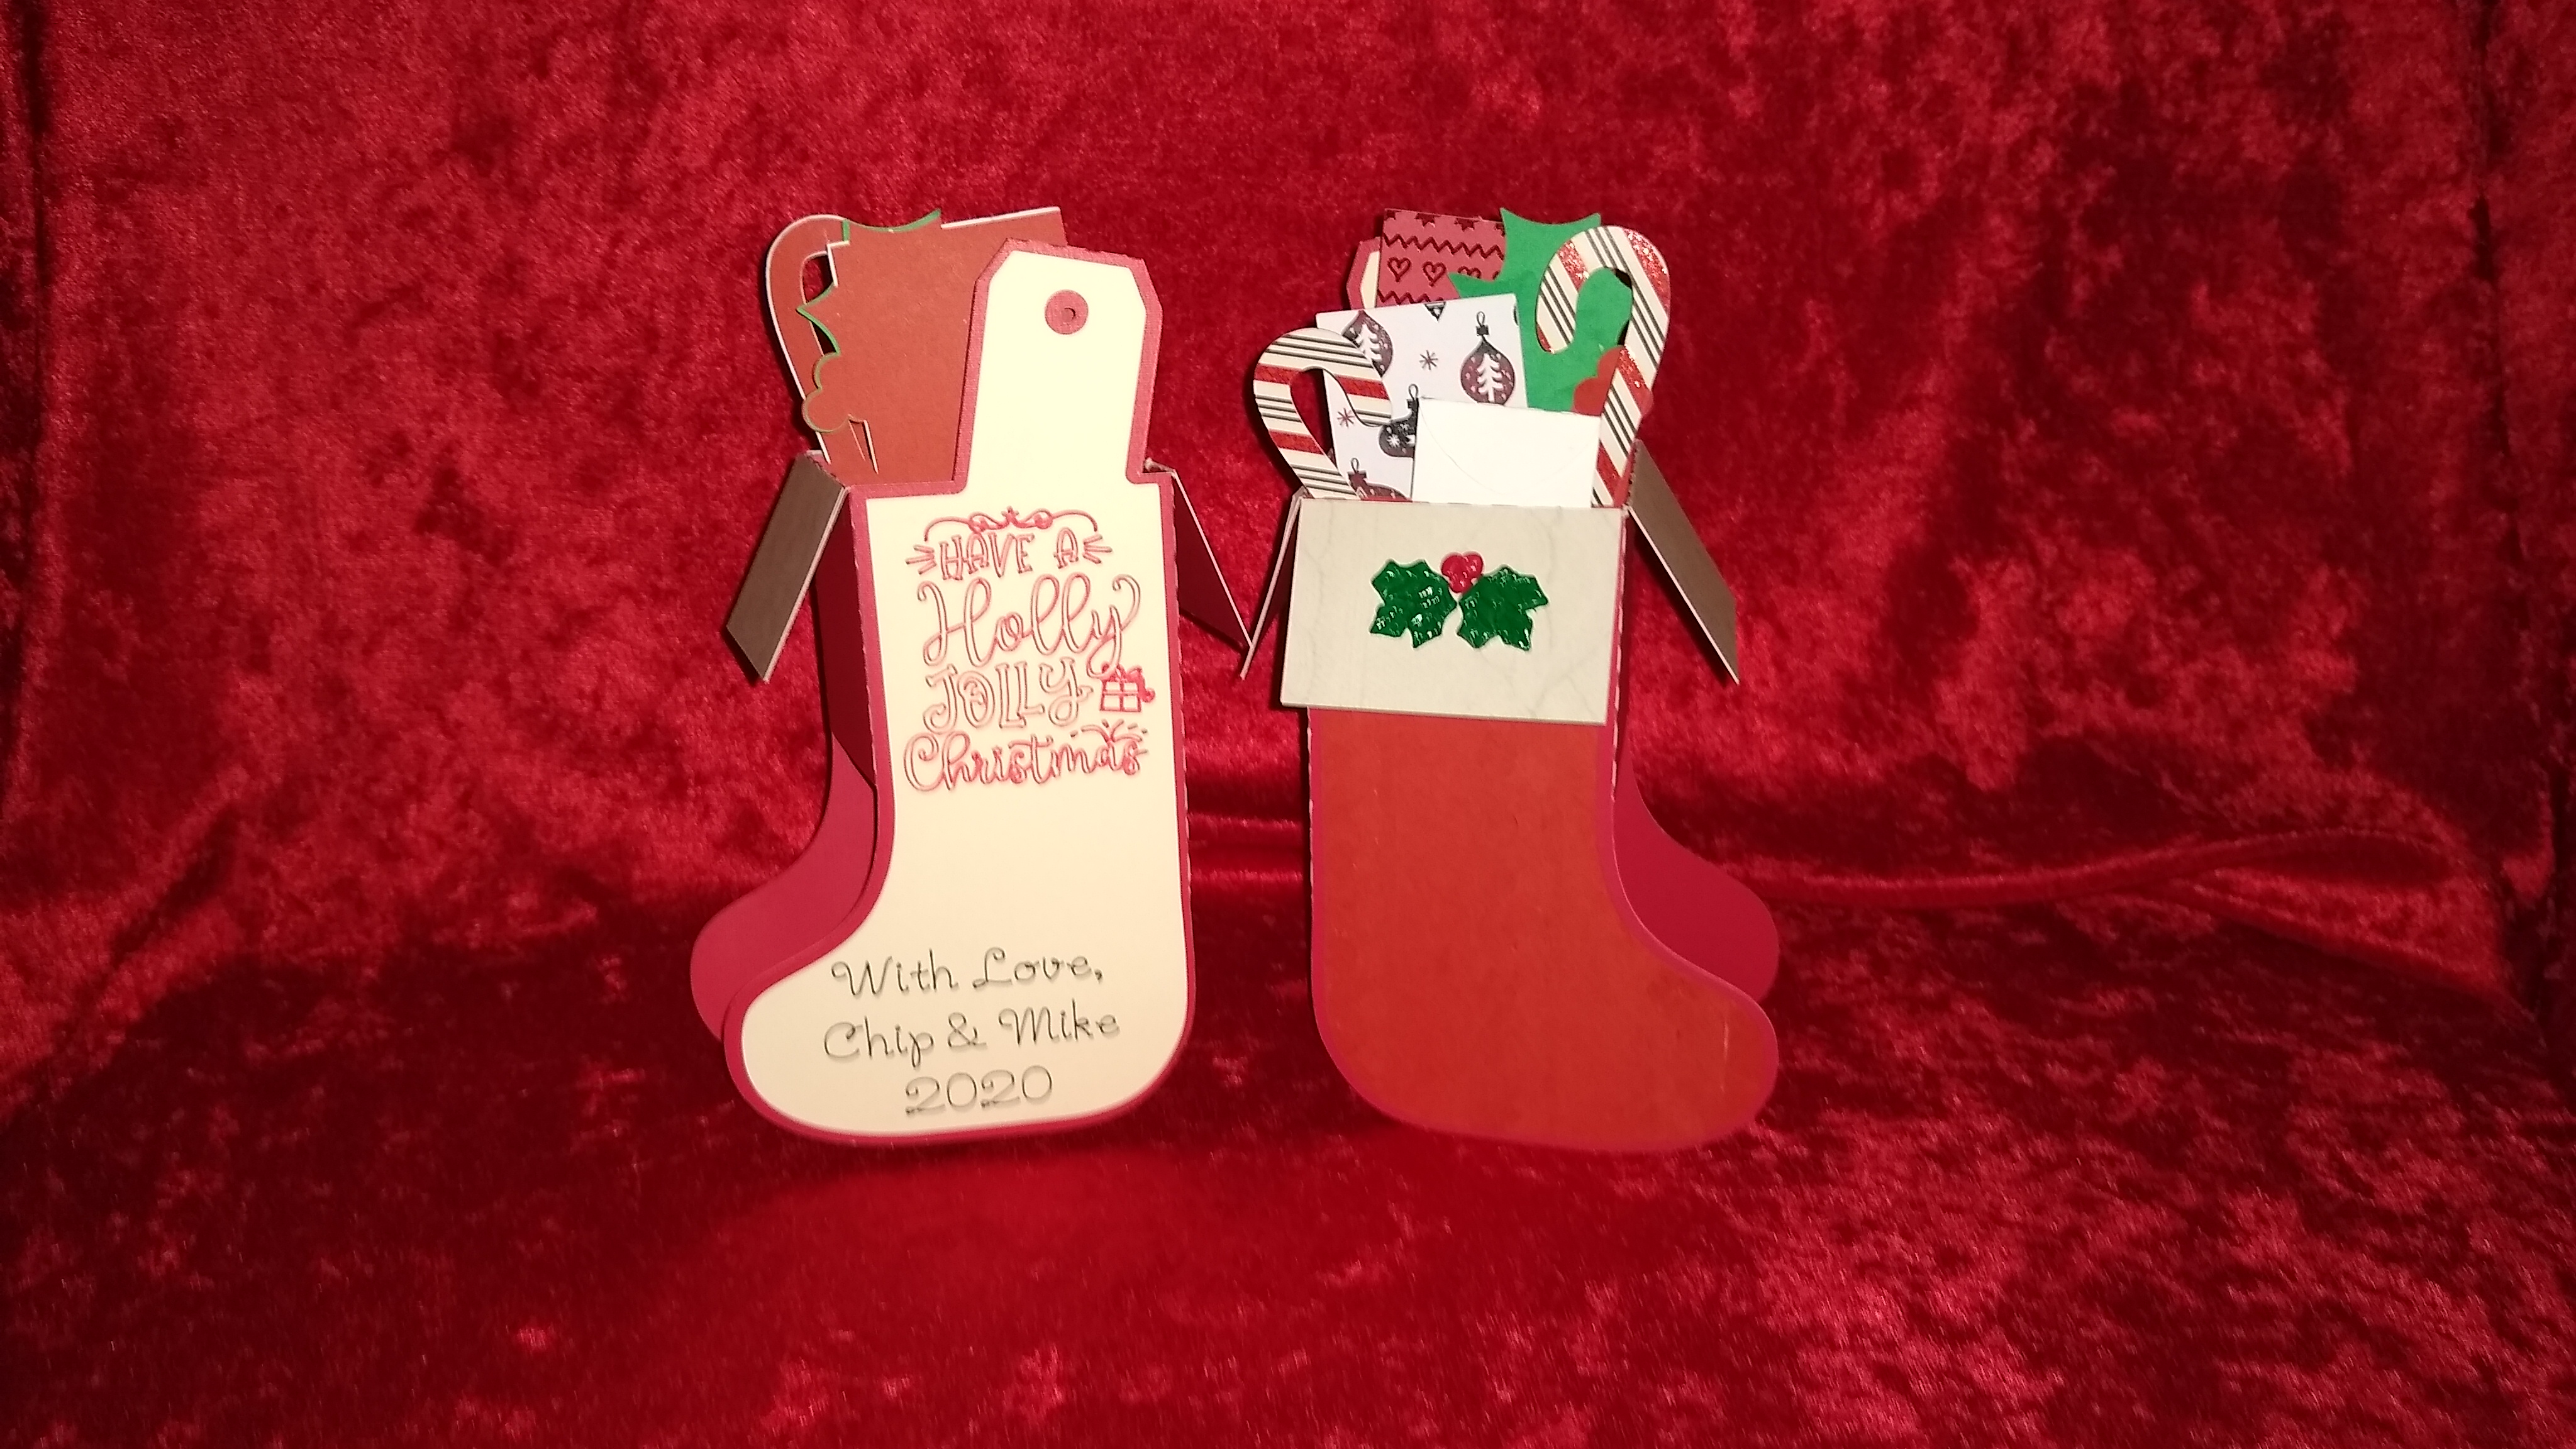
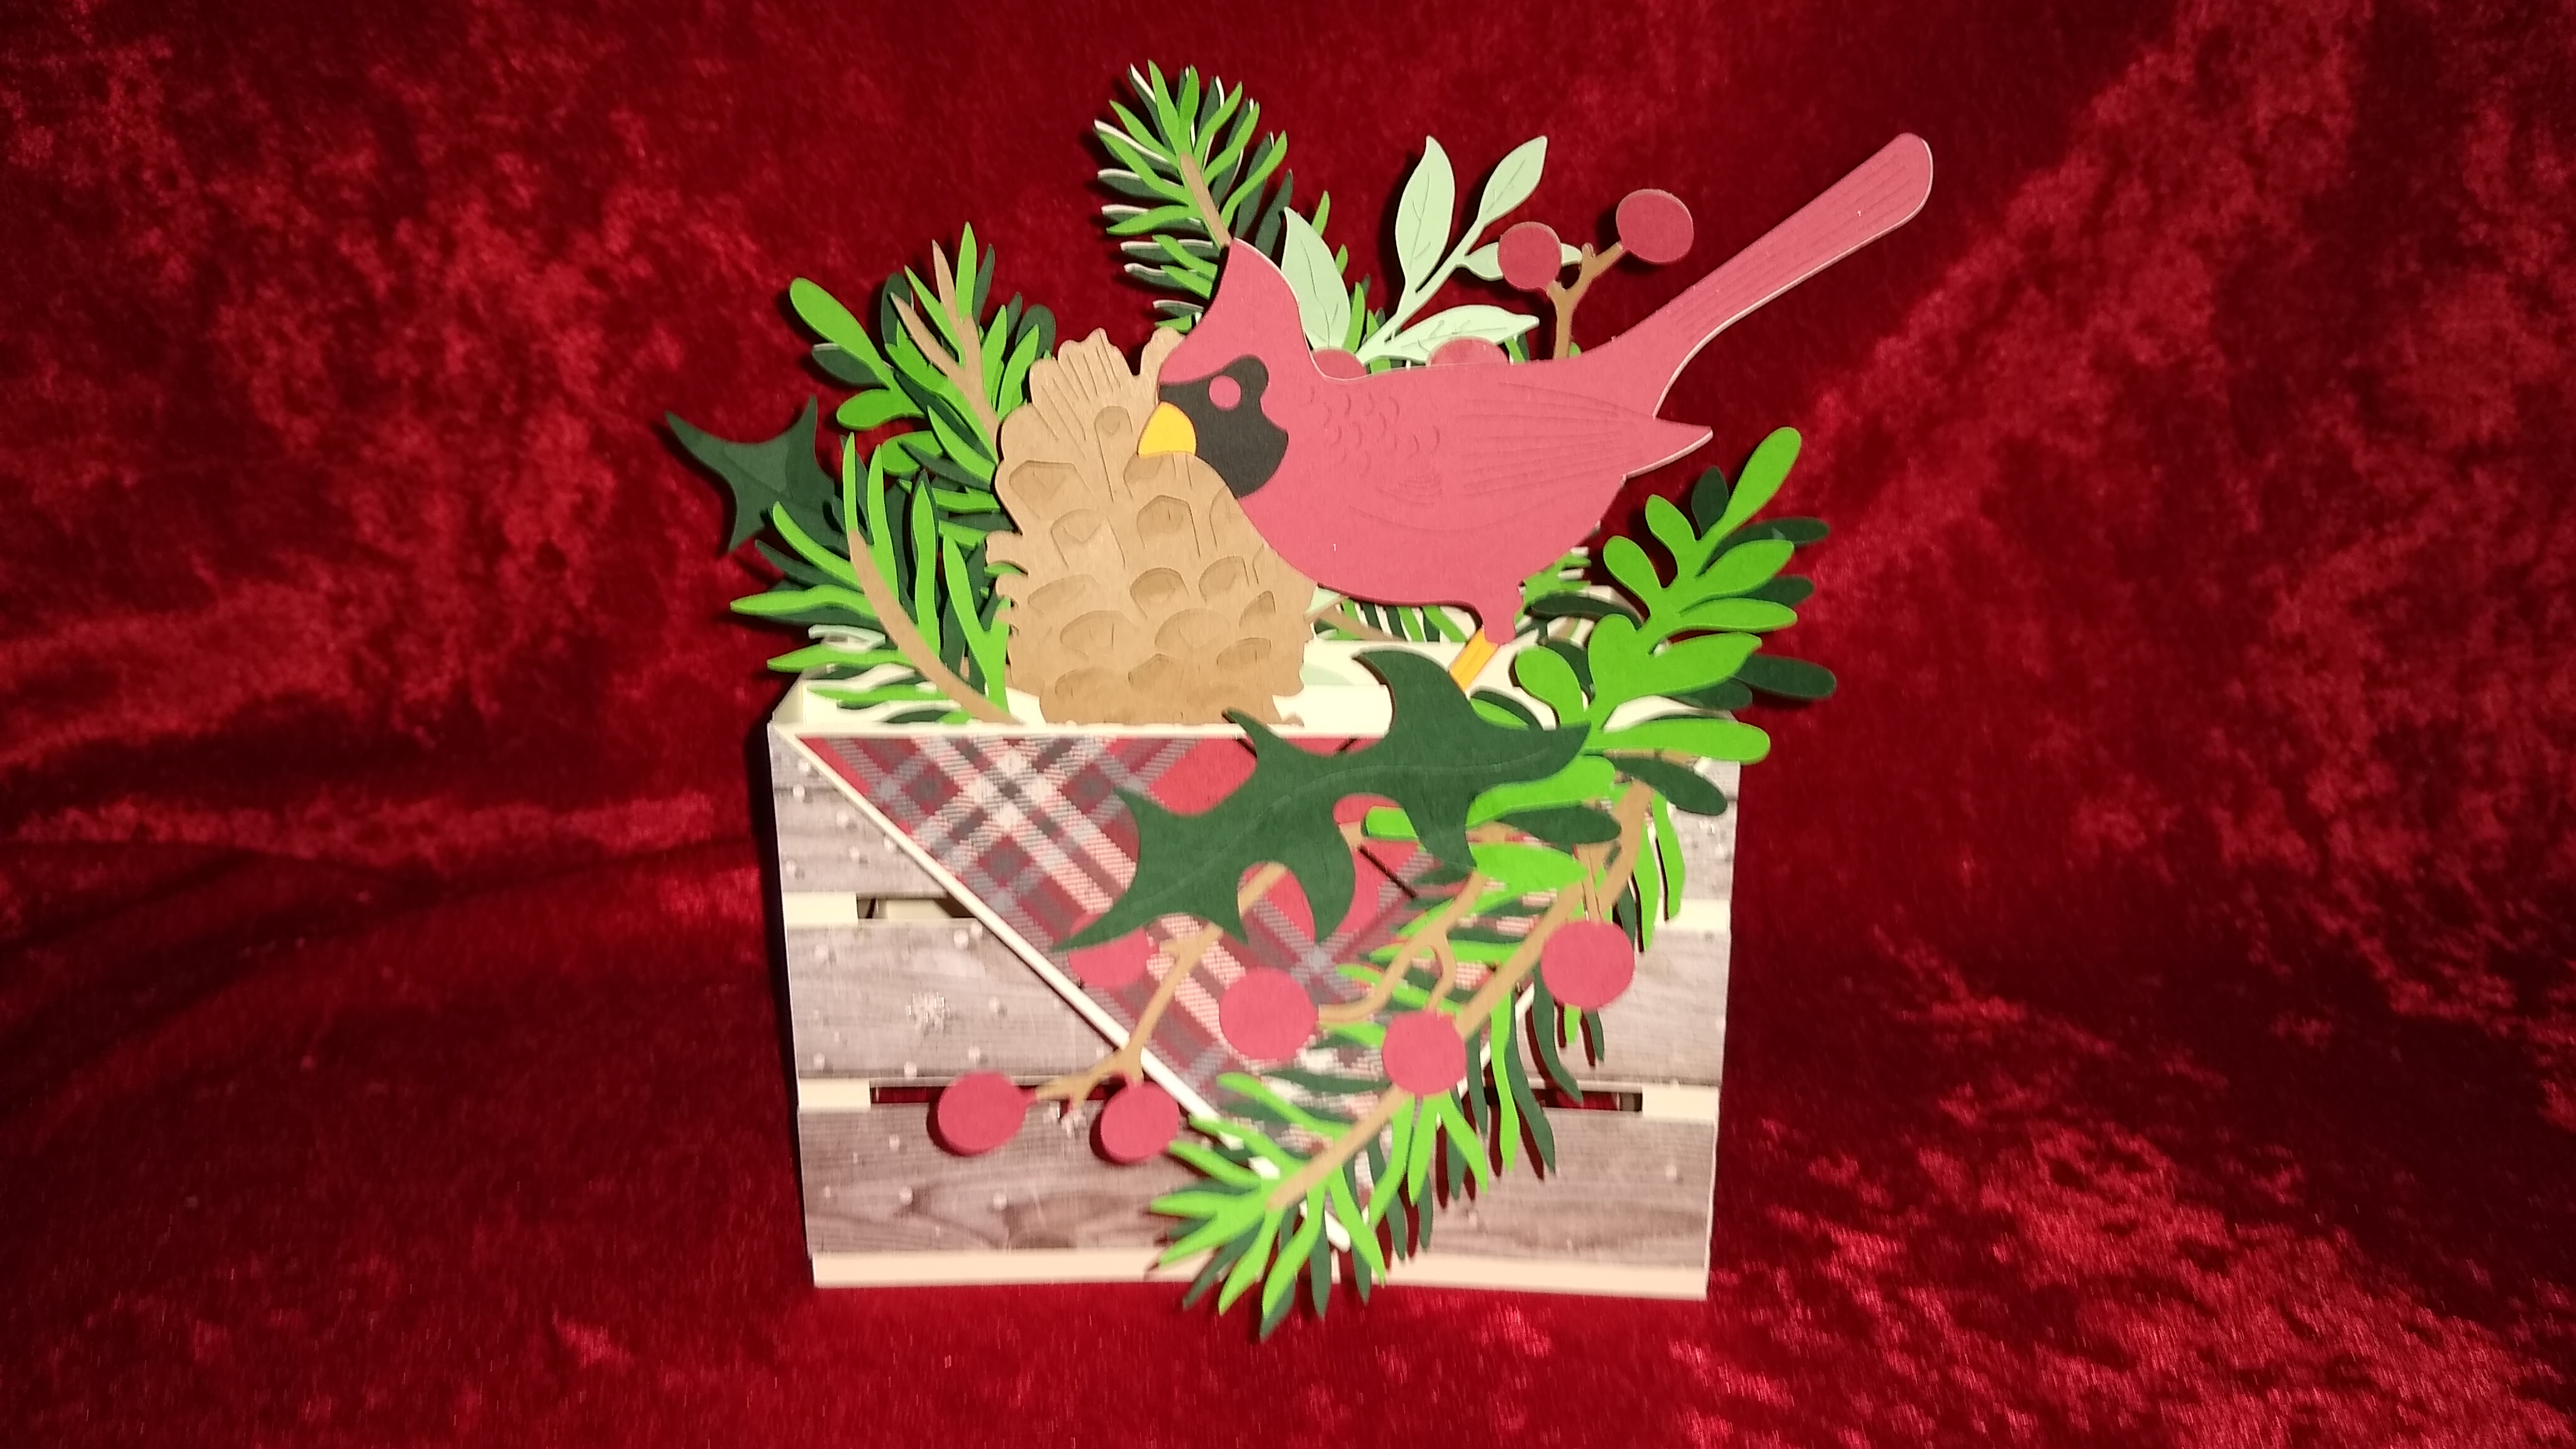
Making puzzles with my Cricut

So I did a thing. Well, I tried to do a thing and was somewhat successful, and I’ll tell you my mistakes and how I’m trying to fix them.

So I am a member of Design Bundles and they have these $1 deals, and one of the deals was puzzle templates. So I went to Cricut Design Space and uploaded the SVG file for one of the templates and a screenshot from The Elder Scrolls Online. The screenshot above is a second attempt because the first one was too dark, and with my bad eyes, I couldn’t make out what the piece was for.

So, the template isn’t the entire puzzle that you print an image and then have the Cricut cut the entire puzzle on your image. When you go to cut the puzzle, it cuts puzzle pieces. So the only way to cut is to have the image in Cricut design space and slice the image in 250 pieces. It took awhile lol. This is what it looks like on the print and cut sheet.

That was the darker image I was cutting.

So here are the mistakes I made. I printed these on 8.5×11 65lb white cardstock. I put the glue on the paper and then placed it on the Chipboard and then ran it through the Cricut. It was too wet and I didn’t use a thin amount of glue, so it just ripped the paper. Take 2 was to use a glue stick. Unfortunately, the glue would dry before I got it all over the area I had to glue. I decided to use a repositionable glue stick because you are supposed to let it dry before you stick the paper on, but it doesn’t stay on lol. So my alternative is to buy glossy sticker paper because the cardstock wasn’t glossy and sticker paper will actually stick permanently. Not using anything glossy was a mistake and using a dark image was a mistake. Also, I’ll have to print using Best so it prints out with the best graphics it can have.

I haven’t bought the sticker paper yet because I’m having surgery soon on my right eye and I don’t want to risk it coming the day of surgery.

To make the box for the puzzles I will use the same box I use for Paracord bracelets, except I made the box bigger.

I used a light chipboard which is 22pt for the puzzle pieces I did manage to cut, but I would like to try using the 30pt chipboard to see if it would be better. I will use the 22pt chipboard for the box. I’ll also change the text I made for the box lid.

This is just a test to see if I can make a puzzle with a box. I would like to make puzzles to send as gifts. I think people would like that.

Update: I tried and it just didn’t work out with the materials that I have. I bought some glossy sticker paper that I have used to make actual stickers with, but I’m having trouble with my Cricut not reading the registration lines. I have done all the necessary things to make it so that the Cricut can read the registration lines on glossy paper, like putting matte Scotch tape on top of the lines and if that doesn’t work then go over those lines with a sharpie. For some reason it just does not want to read the registration lines. The only thing I can think is to use regular cardstock and hope that the glue stays on the chipboard and then just put mod podge over the puzzle pieces after they’ve been cut out. I can’t think of anything else to do that would work.

This is the most frustrating thing lol. If somebody has any other bright ideas, I would sure love to know them. It seems like the light on the Cricut that reads the registration marks for print and cut isn’t as bright on the lines as it used to. Maybe it’s my Cricut. It seems to read the registration lines on regular card stock though, so I don’t know.

Controlling my paper craft hoard for my Cricut

I have a Cricut Explore Air 2, for papercraft. I have collected a lot of 12×12 paper pads over the last 2 years for making box greeting cards. Collecting a lot of different designs requires enough space in your crafting area, which happens to be my bedroom.

A couple of nights ago I had a mini avalanche. I was trying to find a specific pad so that I could get the specific patterns for a card, and the loose scrap paper and a opened pad with 50 pages of white 8 1/2 x 11 sheets fell behind the cabinet that the paper was sitting on. I wanted to buy this cart for a long time, but it was so expensive at $80 from Michael’s. The Avalanche of paper made me decide I really need this cart now.

We went to Michael’s to buy the Essex cart from Recollections (which is the brand of all my paper pads) and I put it together and then started filling it up.

There are four drawers on the left side that hold the 12×12 paper and then two deep drawers on the right side that hold all my 8 1/2 by 11 paper. I don’t have that much 8 1/2 by 11, so I put scraps in the bottom deep drawer.

On the right side there is a tray that you can lift up, but it only holds 2 lb and I’m probably never going to use it, so it can just stay down. The shelf in the middle has more 12×12 pads that the drawers could not hold, and they are mostly glitter paper, vinyl and envelope paper. Then I also put some other craft tools and supplies on the shelf.

I feel so good that the paper pads are cleaned up. this will make finding specific paper pads that I need easier because I put all of the Christmas pads in the top drawer, Valentine’s day and Spring are in the second drawer, and then random designs that aren’t holiday related are in the third drawer. All my 12×12 scraps are in the bottom drawer and they used up the whole drawer.

It’s nice to be organized and to have a clean space for once. I’m so glad I got this.

My 2020 Christmas Cards with Cricut and SVG Cuts

I love having a Cricut Explore Air 2 because I can make awesome cards for many occasions. Here are all of the cards I made for Christmas, and 1 for Hanukkah. I bought these card SVG files from SVGCuts.com. Of course I had to use a red velvet background for these pictures lol. I added embellishments that I made with polymer clay. These are mostly all box cards, so they stand up on their own and are literally a box that fold flat. With the exception of the Hanukkah card and the Cardinal Skating card.

I took a picture of both back and front of all of the cards, but I’m just showing the front here, except for the stocking card, because I guess I just forgot to take a picture of just the front. I think the reason was because it wasn’t standing on its own on the velvet, but it did stand on its own on the table. And yes, the rocking horse does rock.

Here’s a note. If you’re going to make the same cards every year, make a list of who you are giving each card to so the next year you don’t send them the same exact card by mistake. I made all of these cards last year, with the exception of the Hanukkah card, I sent out a different one last year, and the pick up truck card was new this year. I sent out all my cards, but I didn’t have a list, so if someone got the same card, all I can say is oops. You won’t get the same one next year because I now know which one I sent you this year lol. Although, if you got a different one from last year, there’s no guarantee 2021 won’t be the same as 2019 lol. And that’s why Santa makes a list, and checks it twice. If only I had heard that advice last year.

Cricut Explore Air 2 and Cricut BrightPad

Well, it happened sooner than I was expecting. I got a Cricut Explore Air 2, and it came with a free Cricut BrightPad from Michaels.

I mentioned in my last blog post that a friend had given me a Cricut Personal, which is basically one of the first electronic Cricuts ever made and that I wanted to buy a Cricut Explore Air 2 eventually, either by my birthday, or by Christmas.

I got an email from Michaels telling me about their new sale, and it said all of the Cricut stuff was on sale, so I clicked their link and discovered the 6″x12″ cutting mats for the Cricut Personal was $5.99 for 2 mats. I told my life partner the next morning that I wanted to go buy a pack of cutting mats and a new blade and on the way he asked how much a new Cricut was and I told him it was on sale and you get a BrightPad, but I don’t want him to buy it for me, and he said “Well, you might as well just get the latest one, I know you want it because you keep telling me what you can do that you can’t do now.”

So, now I have a Cricut Explore Air 2 and a Cricut BrightPad. I’ve been pretty busy making boxes and cards and their matching envelopes. I also bought some vinyl and iron on vinyl from Amazon so I can make more than just things with paper.

One thing to note about the cartridges that I bought from eBay is that if you buy something that has been used, there is a good chance that person has already linked the cartridge to their account, so you will be wasting your money on the cartridge if you are using it with a new Cricut. It will still work on the old Cricut, but if someone has already linked it, you are wasting money. I bought 2 cartridges from eBay, Creative Everyday Cards and Sweet Tooth Boxes. I was able to link Creative Everyday Cards because that one was brand new, but Sweet Tooth Boxes was already linked to someone else’s account, so it’s literally useless to me. Those patterns are available for Cricut Access, which I am using their trial right now and will probably continue to pay for every month, but if I quit using that, I won’t have access to those cut files.

I love my new Cricut Explore Air 2 and Brightpad. I’ve already made a thank you card for the person who gave me the original Cricut, plus I’ve made 2 Easter cards and 2 boxes for chocolate, one of which matches the thank you card.