When I first started Diamond painting in April this year, I had no plans on making Diamond paintings to sell, but, I didn’t rule it out entirely. My main focus was to collect the leftover Diamond drills for using in my papercrafts and if I found that I liked making the diamond paintings, then perhaps I will sell the product that came from it. My Etsy Shop focuses mostly on things that are rainbows because it is a gay Etsy shop and rainbows are a big part of the gay community, so, I like to make things with rainbow colors to sell to people in my community.


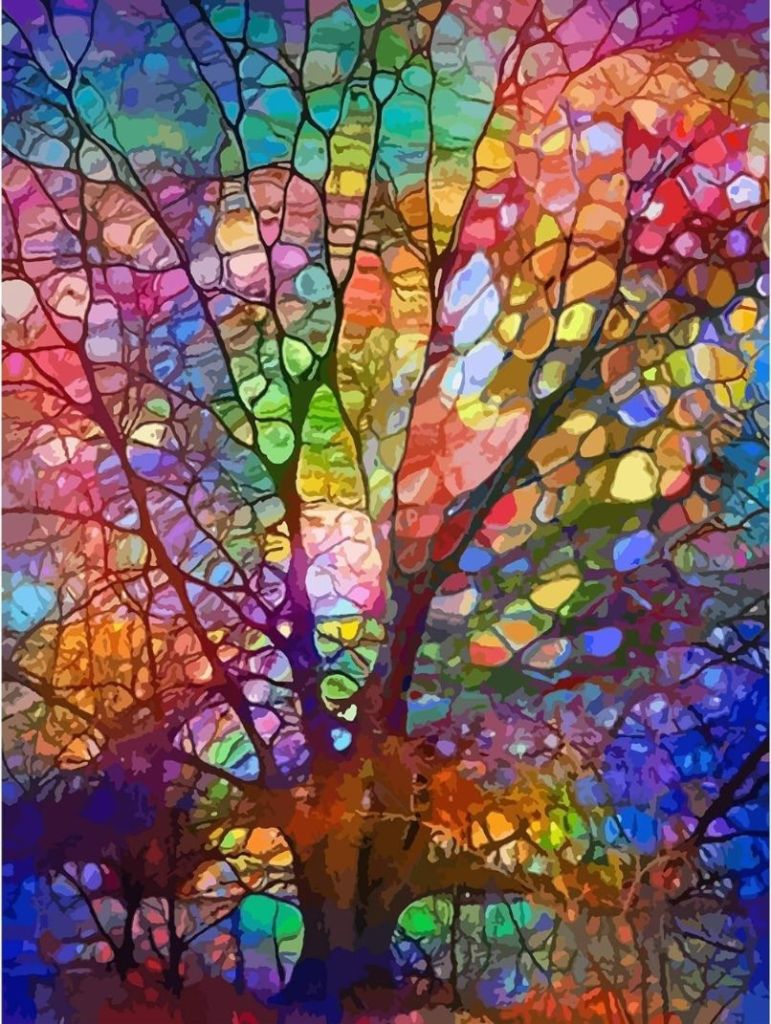

Over the last few months I have been buying rainbow themed Diamond paintings and these six are ones that I do plan on making. I have made one of these, the tree of life on the very bottom left and it did not come out as well as I thought it would, but it is still a nice Diamond painting. I think that the other ones will look a lot better based on the way they look on the canvas with the squares and symbols in them.
Most of the diamond paintings that I’ve bought from Michaels are summer themed and I do plan on selling those as well, and those are the ones that I seem to be working on mostly rather than the rainbow diamond paintings. I will be getting to the rainbow ones, but I would like to focus on finishing all of the Michaels summer diamond paintings so that I can put those in a single listing first, and then when those are finished, I will start working on the rainbow themed Diamond paintings and put all of those in one listing.
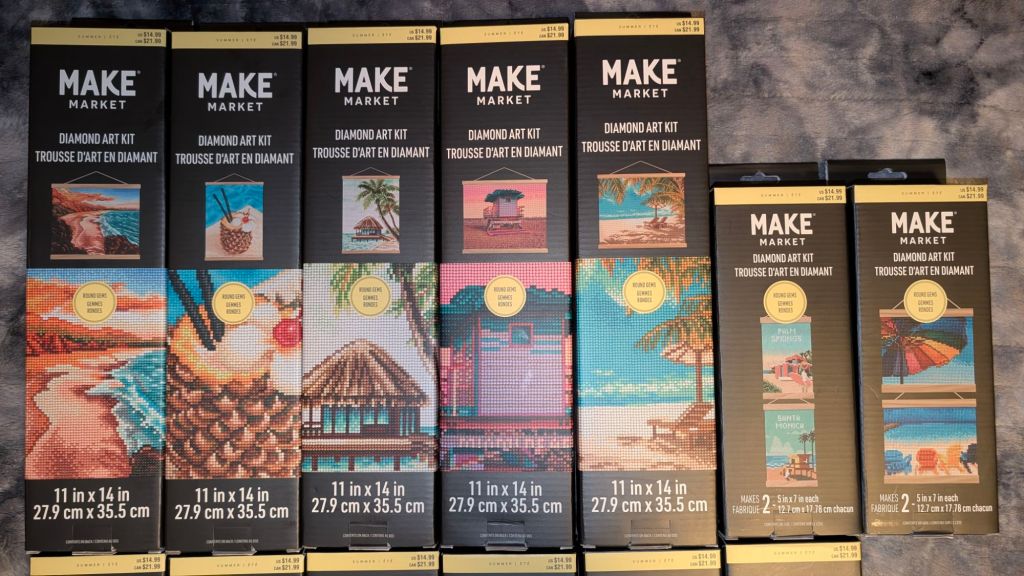
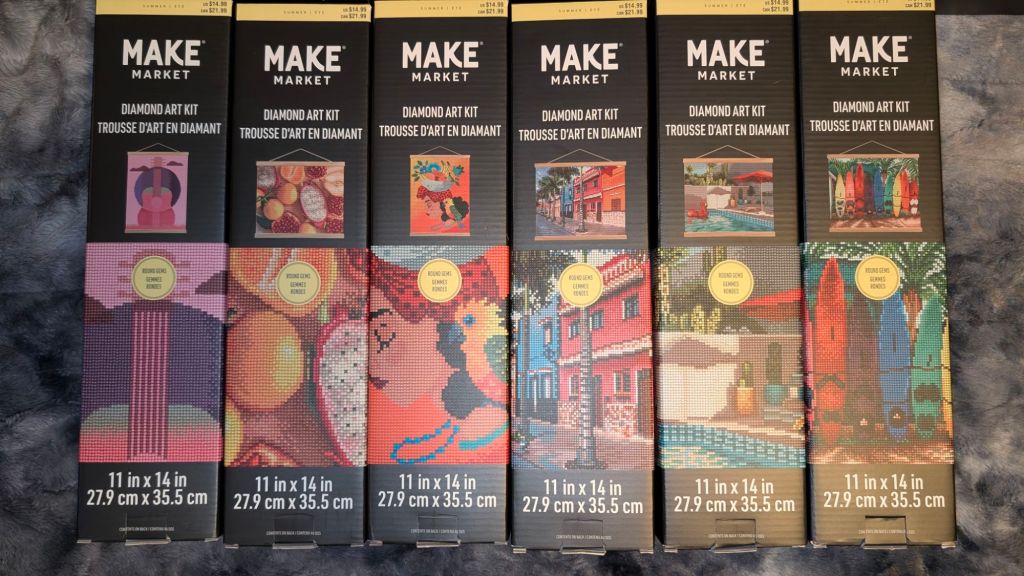
I have so far only completed four of these, believe it or not. I still have so many more to make. I made the surfboards first and then I made those two little ones with the rainbow umbrella and the Adirondack chairs and then the beach scene which is called beach chairs and I just finished working on the fourth one called colorful street. The next one that I’m going to make is the one with the pink flamingo in the swimming pool.


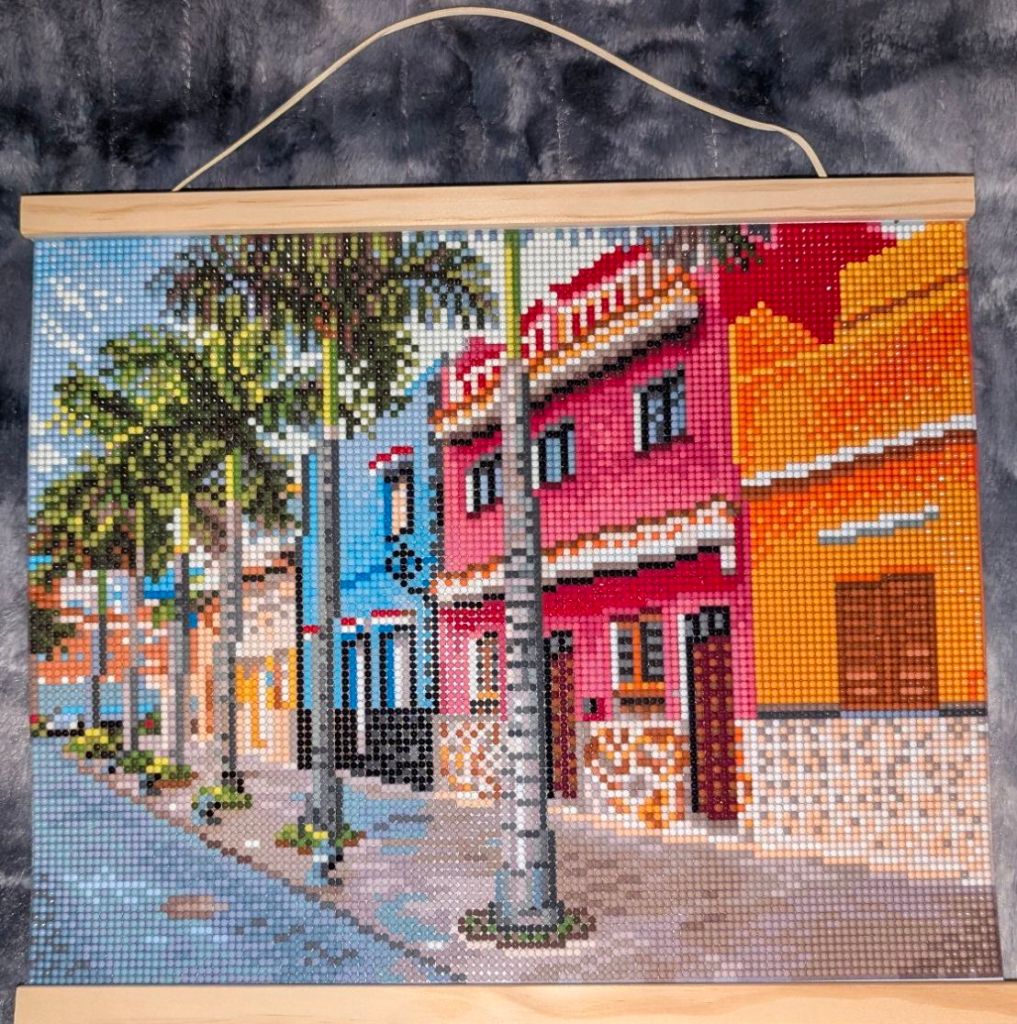
I swear the Michael’s Make Market diamond paintings look like they were taken from real pictures. They look so lifelike. I just don’t know how they can make them look so real. And they are Diamond paintings which means they’re pixelated. It’s just the oddest thing that when you’re standing back or even looking at a picture of it, it looks so real. It almost looks like a photograph. I think that’s what makes me so attracted to this brand as opposed to any other brand that I’ve found because these look like they are actual pictures.
Another thing that I love about these summer Diamond paintings is that they come with their own frames. So I don’t have to worry about buying frames for all of these diamond paintings because they’re already in the box. It makes it so much easier to sell something if it comes with its own frame because then I don’t have to spend extra money and then also charge extra money for the frame. I did however have to buy frames for the Rainbow Diamond paintings from Amazon because they don’t come with frames. The summer Diamond paintings from Michaels are all 11×14 and the rainbow ones are 10×14.
I want to focus on the summer Diamond paintings so that I can list those on Etsy first, because summer won’t last forever, but rainbows do. Although, if you love the beach, you’re going to love it all the time. I will have the summer Diamond paintings in there until they’re all sold out.